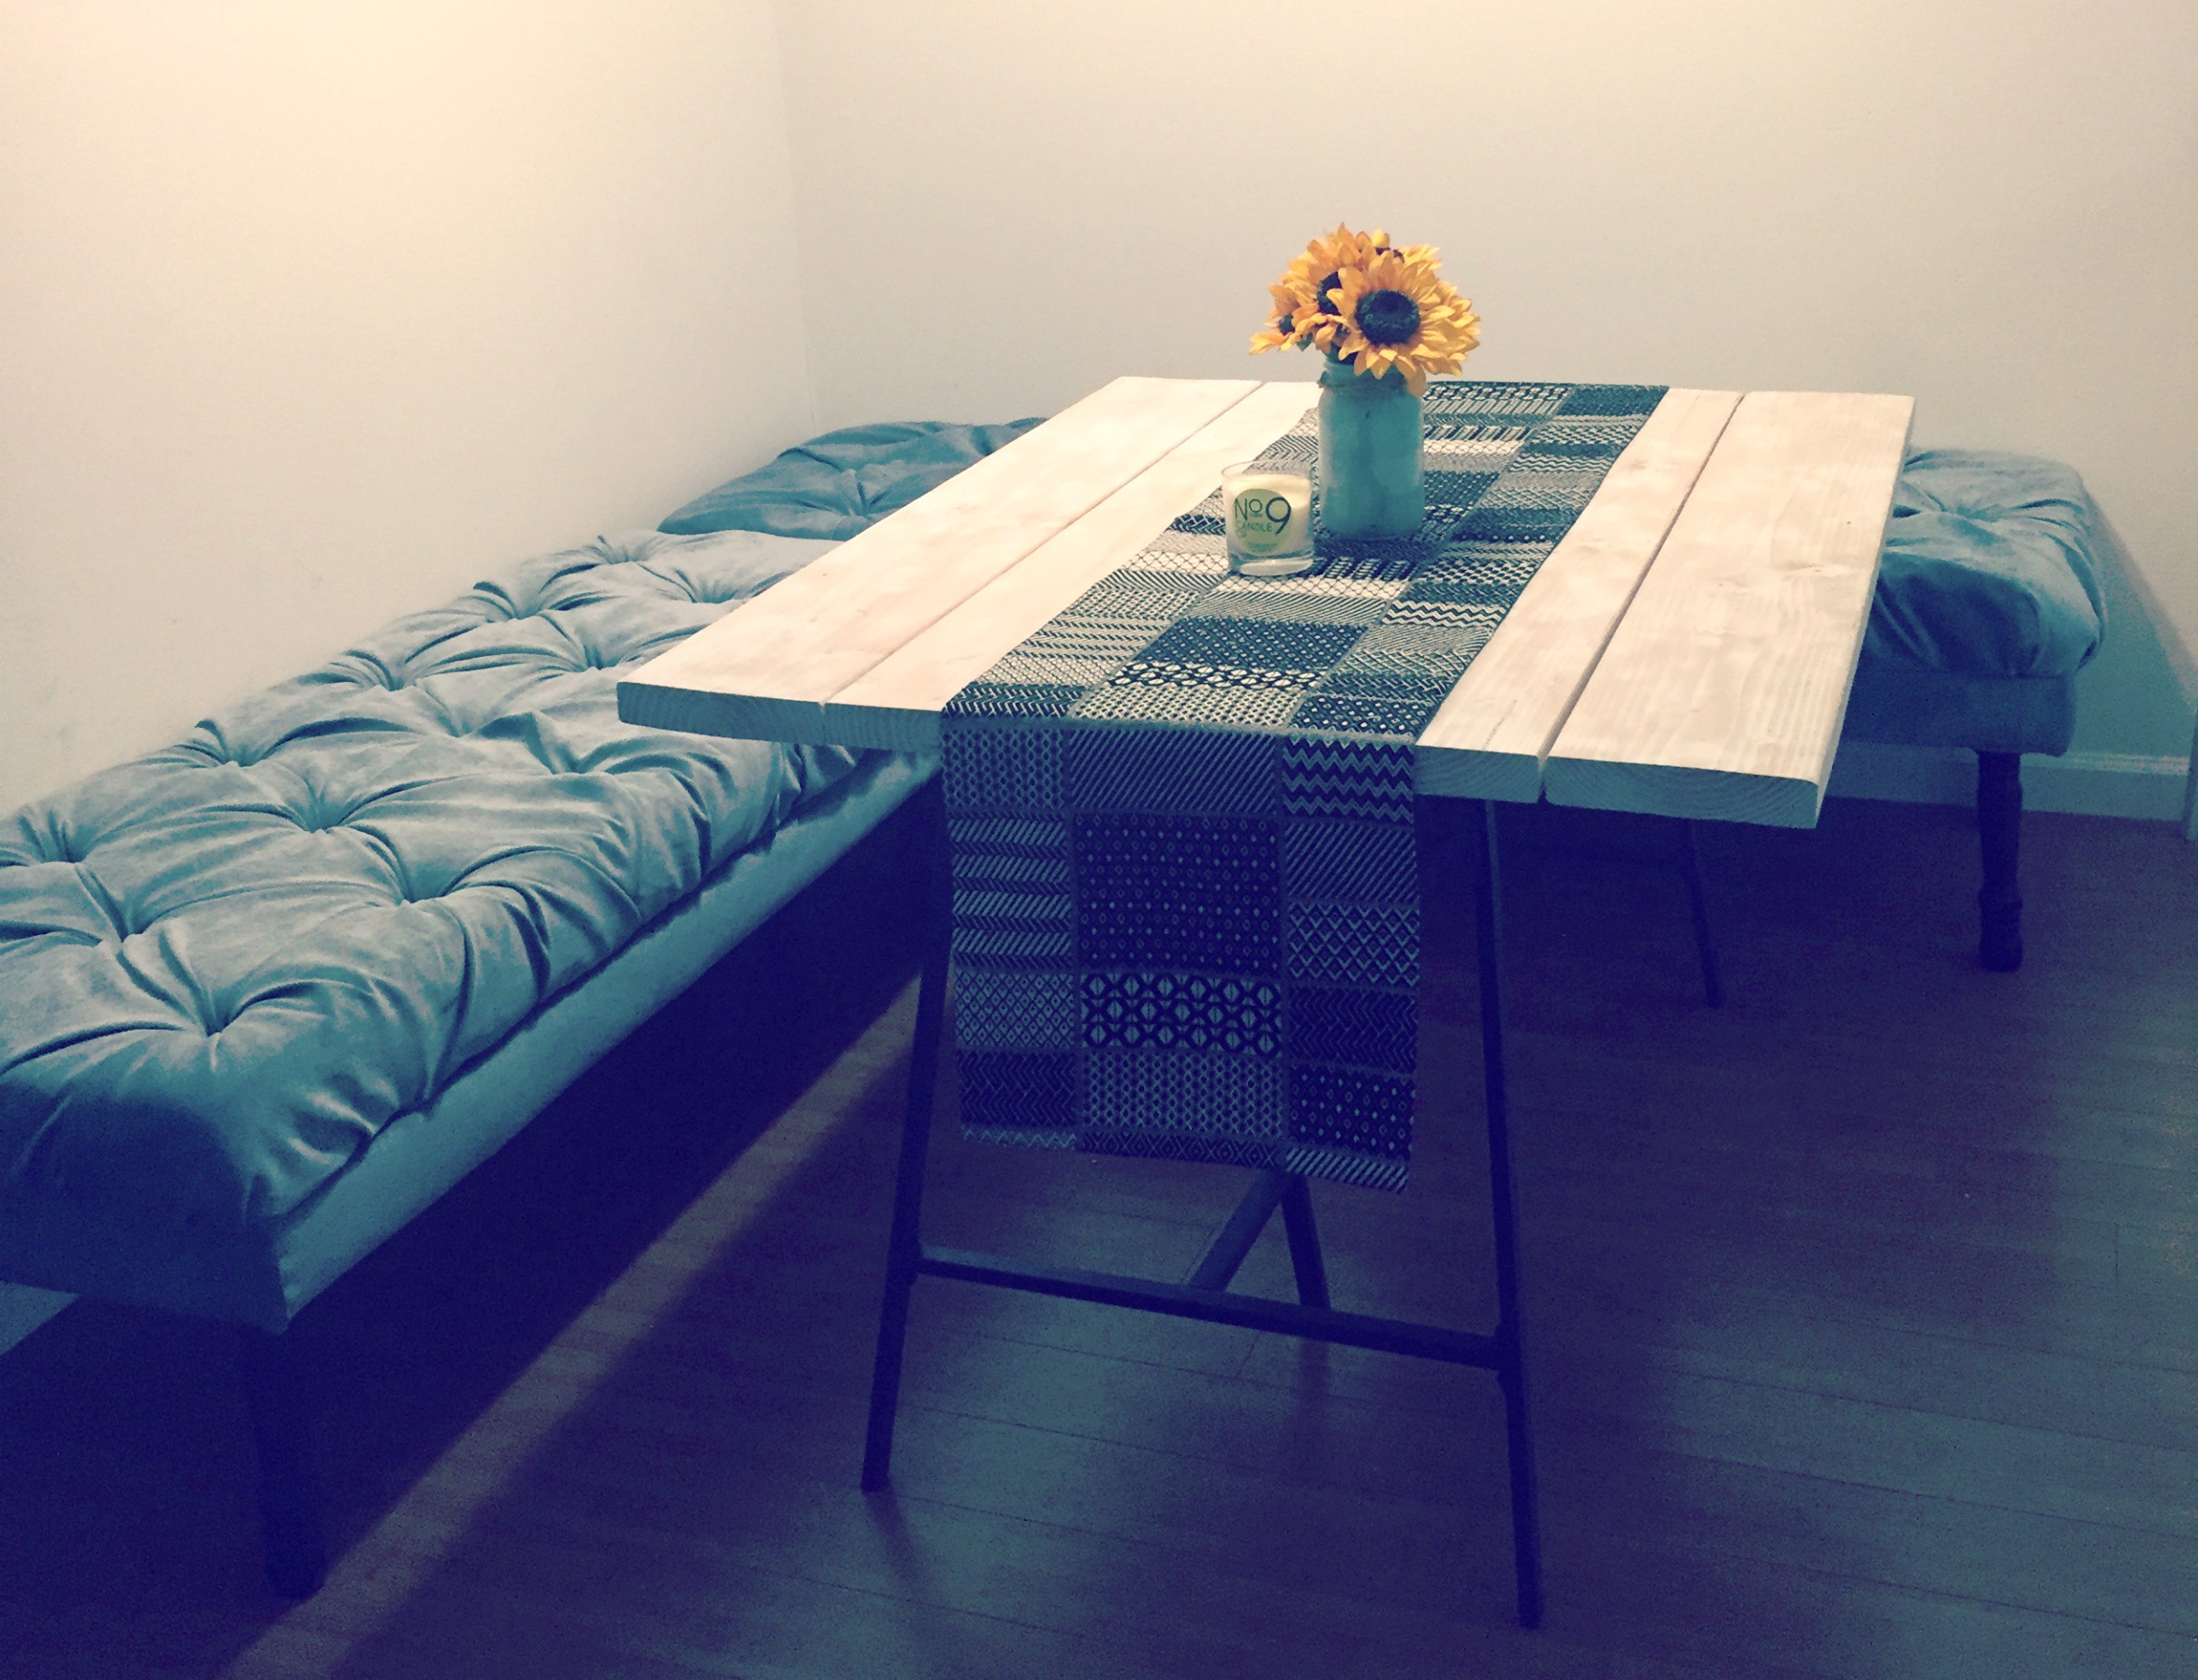
How to Do It Yourself: Banquette Benches Edition
This past weekend, I attended an amazing bloggers’ conference in Charlotte. It was thrilling to network and connect with women locally on a similar mission. So many stories shared, journeys compared, lessons learned. The host, speakers, and panelist were brilliant but even more so were the women I got to connect with one-on-one. One theme that arose in a couple conversations with the ladies was “imposter syndrome” and being brave enough to just get started.
I think we’ve all suffered from questioning ourselves and over analyzing interests that we have, thinking: “who am I to share this with everyone else, who am I to take up this space”. However, at the end of the day it is all about just actioning. Going for the things you want, acting on your interests and practicing them is what will eventually allow you to master those interests.
So for myself, I’m trying not to over-think my blog as a former advertising professional. I’m not going over-analyze my craft as a beginner and really just get out there and continue to practice, doing what drives me.
And here’s what happens when you just do!
Check out my How-To from when I decided I NEEDED some amazing dining banquette benches and that I should make them myself. I loved these benches, they were perfect for hosting friends over for brunch or just having smaller, intimate dinners over wine. And the resale value when I moved was amazing.
Peek below, see if you'd like to try for yourself!
~~~~~~~~~~~~
Step One:
Prep materials: I decided I wanted my benches to be separate pieces so that when I was done with them or ready to move, they could sell as a set or separately. Once I decided size, I marked up my floor with painters tape to get a confirmed visual of where the benches would sit and fit.
Step Two:
Assembly is next up. Once you've cut all the pieces and painted your legs, begin building the two framed pieces of the benches. For the top frame, you should attached the top plywood to the side frame. For the bottom frame, begin attaching the pre-spun legs. I sourced mine from Home Depot, but you can also find plenty of options online. Make sure to use wood glue to secure your pieces along with wood screws to double up the strength.
Step Three:
Once the top frame is assembled, you can move through the standard tufting process. I've walked through how to do this step by step on the "DIY Tufted Headboard" post.
Quick rehash: Cut the foam to the size of the board, dig out your holes in foam for the buttons to sink into, staple the foam down to the plywood, cover foamed piece with batting, layer the piece with final fabric, begin tufting with buttons.
Step Four:
Up next, wrap the bottom frame in fabric and begin attaching the two frames. Secure the two with L-brackets. For a nice clean finish, you can add black dust cover cloth across the bottom, staple together.
Sit, eat, and enjoy. Best used with friends!
~~~~~~~~~~~
Budget:
- Fabric: $30 (for 3 yards, for microfiber indoor upholstery fabric)
- Batting: $20 (4 yds)
- Upholstery Thread - $3
- 3” Foam: $40 (3” inches think for plush seating, cut to size of boards)
- Plywood: $35 (1 4’x8’ @1/2inch thick plywood board cut into two boards Board 1:
- 2x4s Wood: $20 (for framing)
- Pre-spun legs: $43.84 (Pre-spun. Wooden Legs)
- Black Paint: FREE (leftover black paint for the legs)
- Also needed: wood screws, staple gun, and staples
- Final dimensions of the benches: @ sizes 24”(W) x 6’(L) Board 2: 24”(W)x5’(L)
Grand Total - $192!
Your turn! Go throw something beautiful and wild out there.


